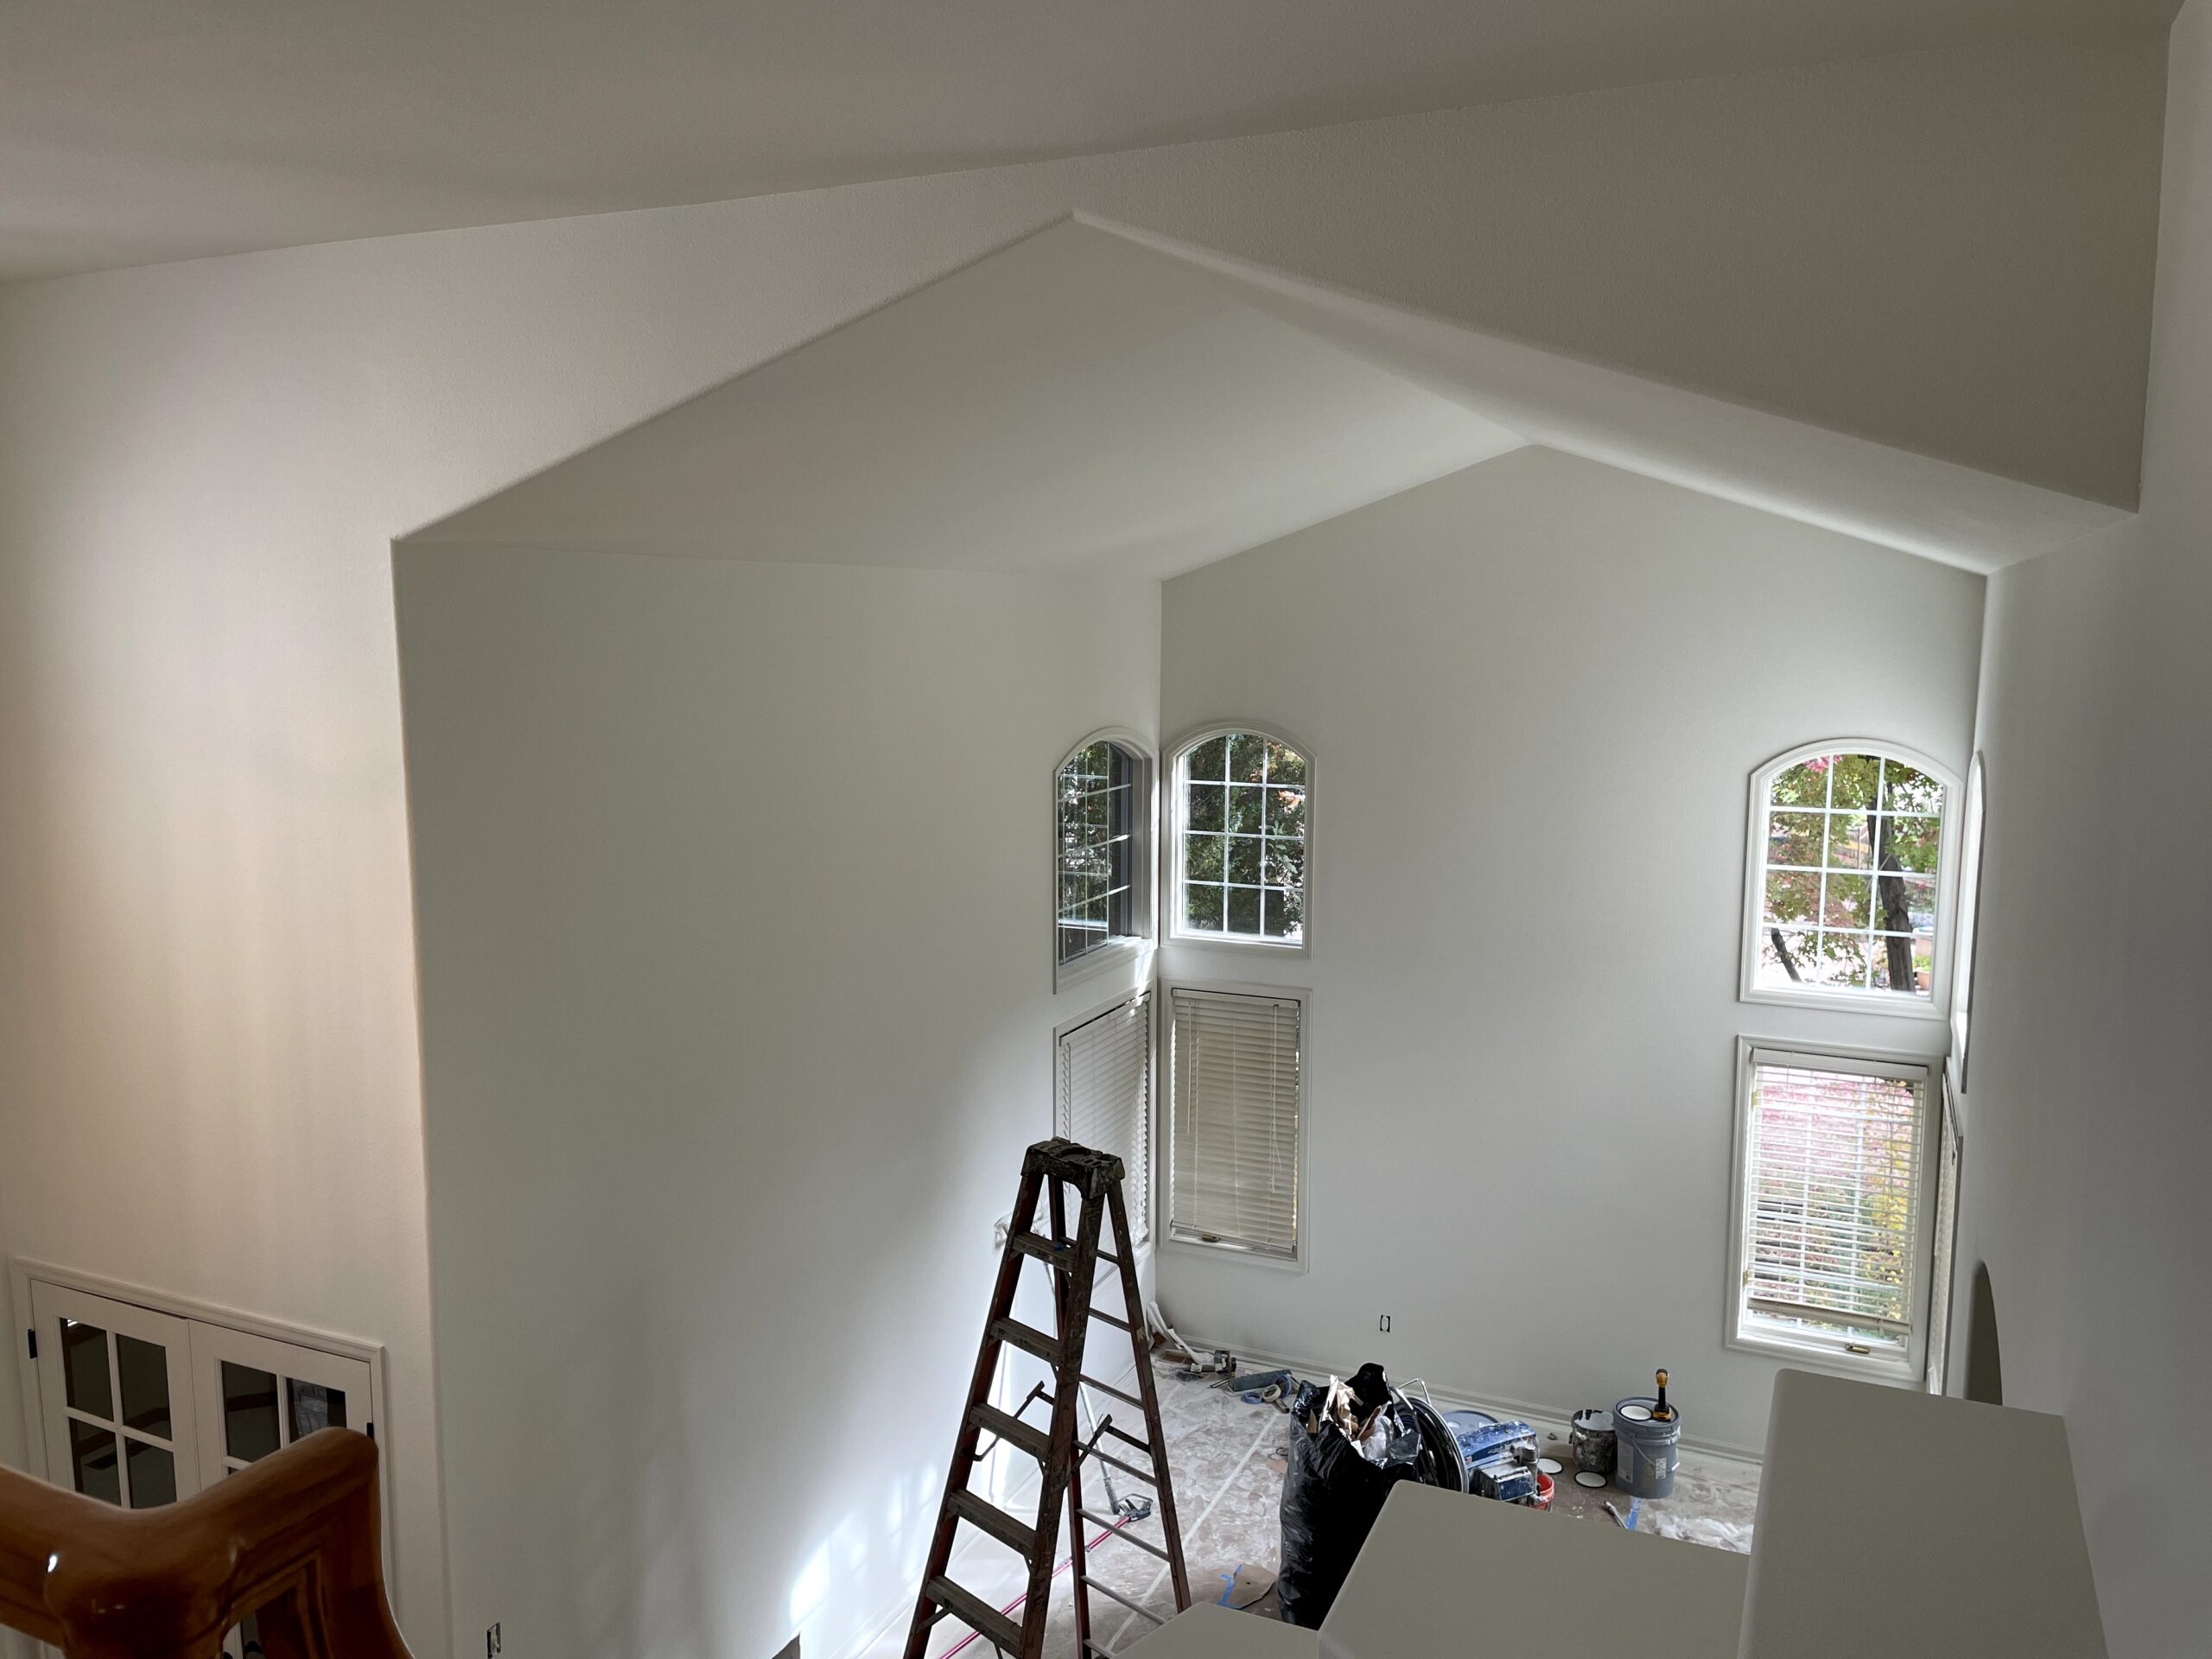
A fresh coat of paint can change the entire feel of a room. But the finish you end up with depends almost entirely on what happens before the roller ever touches the wall. The best interior painting tips all point to the same thing: the prep work is where the magic happens, not the painting itself.
Here is what professional painters actually focus on to get that clean, lasting result.
Key Takeaways:
Clean the Walls Before Anything Else
It sounds basic, but most paint problems start here. Walls collect dust, fingerprints, cooking grease, and grime over time. If you paint over that, the new coat will not bond properly and you will notice peeling or bubbling within months.
A quick wipe down with a damp cloth and mild dish soap handles most surfaces. Kitchens need extra attention since grease buildup is usually worse than it looks. Let the walls dry completely before moving on.
Fix What Is Broken First
Walls take a beating over the years. Nail holes, dents, hairline cracks, and scuff marks are all common. None of that disappears under a fresh coat of paint. In fact, new paint tends to highlight imperfections rather than hide them.
A few minutes with spackling paste and a putty knife takes care of most minor damage. Fill it, let it dry, then sand it smooth. For areas with bubbling or flaking paint, scrape off the loose material first, then sand the edges flat so the repair blends in.
Sand Glossy Surfaces for Better Adhesion
If the existing paint has a satin or gloss finish, the surface is too smooth for new paint to grip well. A light scuff with medium grit sandpaper roughens things up just enough to give the next coat something to hold onto.
You do not need to sand down to bare drywall. A quick pass over the surface in circular motions with light pressure does the job. Wipe away the dust with a tack cloth or damp microfiber rag before moving forward. This is one of those interior painting tips that takes five minutes but saves you from having to redo the entire project later.
Use Primer When It Counts
A primer is not always required, but there are specific situations where skipping it will cost you.
- Covering dark colors with a lighter shade. Without primer, the old color bleeds through and you end up needing extra coats just to get even coverage.
- Painting over patches and repairs. Spackled areas absorb paint differently than the surrounding wall, and primer evens out that absorption.
- Bare drywall or new construction. Unprimed drywall soaks up paint unevenly and the finish will look blotchy.
A good primer creates a uniform base that helps your topcoat go on smoother and with better coverage. If you are going from a dark wall to a lighter shade, understanding whether does paint dry darker or lighter helps set expectations before you commit to a color.
Pick the Right Paint Finish for the Room
Not every finish works in every room. The sheen level you choose affects durability, cleanability, and how the walls look under different lighting.
- Flat or matte hides wall imperfections well but stains easily and is tough to wipe clean. Best for low traffic areas like bedrooms and ceilings.
- Eggshell offers a slight sheen with decent durability. It works well for living rooms and hallways.
- Satin is more durable and easier to clean, making it a solid pick for kitchens, bathrooms, and kids’ rooms.
- Semi gloss handles moisture and scrubbing well. It is the go to for trim, doors, and high humidity spaces.
If you are deciding between finishes, knowing how satin paint vs. matte paint compare side by side makes the choice a lot clearer based on your specific space.
Cut In First, Then Roll
One of the most practical interior painting tips is getting your edges done before filling in the larger areas. Cutting in means using a brush to paint a 2 to 3 inch border along ceilings, corners, trim, and around outlets or light switches.
Once the edges are done, grab your roller and fill in the rest of the wall while the cut in lines are still slightly wet. This helps the brush strokes and roller texture blend together for a seamless finish. If you wait too long, you will see visible lines where the two methods overlap.
Load Your Roller the Right Way
Too much paint on the roller creates drips and thick, uneven buildup. Too little leaves a patchy, streaky finish that needs more coats to fix.
Dip the roller about halfway into the paint tray, then roll it back and forth on the textured ramp a few times to distribute the paint evenly. The roller should be fully loaded but not dripping. Thin, even passes give you a much better result than trying to get full coverage in one heavy coat.
Apply Enough Coats for Full Coverage
Most interior walls need at least two coats of paint for a solid, even finish. One coat almost never gets the job done, even if the can says otherwise.
Thin coats dry faster, adhere better, and produce a smoother result. Let each coat dry fully before applying the next one. Rushing between coats leads to lifting, streaking, and a finish that does not hold up over time. For a deeper look at coat requirements for different situations, how many coats of paint for wall breaks it down clearly.
Paint From Top to Bottom
Always start at the top of the wall and work your way down. This way, any drips or splatters fall onto unpainted surface below and get rolled over as you go. If you start at the bottom, you end up with dried drip marks on areas you already finished.
Same logic applies to the room as a whole. Ceiling first, then walls, then trim and doors last. This order keeps the work clean and reduces the amount of touch up you need at the end.

Why the Right Team Makes All the Difference
These interior painting tips are straightforward on paper, but execution is where results are made. Every step from prep to final coat requires the right products, tools, and experience to get a finish that actually lasts.
That is exactly what you get when you work with experienced painters in Greenwood Village, CO who follow a proven process on every project.
Here is how Foothills Painting handles interior painting:
- Detailed walkthrough and estimate so you know the full scope before any work starts
- Thorough surface preparation, including cleaning, sanding, patching, and priming
- Professional-grade paints and tools selected for your specific surfaces and rooms
- Clean, efficient application with quality checks between every coat
- Final inspection with you to make sure the result meets your expectations
Good interior painting tips only go so far without the right hands putting them into action. If your home is ready for a fresh look, Foothills Painting proudly serves homeowners in Henderson, Highlands Ranch, Johnstown, and the surrounding areas.
Call us at 970-427-2866 for a FREE estimate.
